Operation steps:
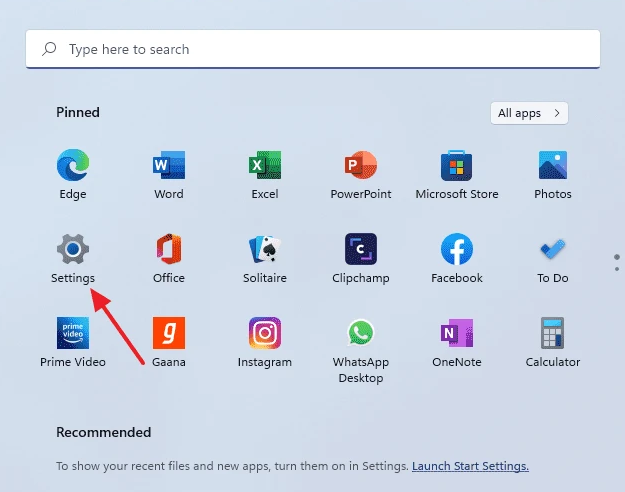
1. Select Start > Settings
2. Click System > Projecting to this PC
3. If it is the first time to use Projecting to this PC, you need to add Optional features.
4. In the Optional feature's interface, click View features.
5. Search for "Wireless Display" in the Add an optional feature interface, check Wireless Display. Click Next and Install, the installation will take a while, so please wait patiently.
6. After the "Wireless Display" shows that it has been installed, open the System > Projecting to this PC.
Set "Some Windows and Android devices can project to this PC when you say it's OK" to "Available everywhere".
Set "Require projection to this PC" to "First time only".
Set "Require PIN for pairing" to "Never".
Set "Discover this computer for projection only when this computer is plugged in" to Off.
7. Click Launch the Connect app to project to this PC, and the computer will be in the state of being discovered by projection.
Related Articles:
Windows 11 widgets not working- How to Fix
How to reset your Windows 11 laptop?